Garage door openers are among the most useful gadgets that you can install at home. You can install the garage door opener yourself by following the general instructions as well as the specific instructions included with the unit.
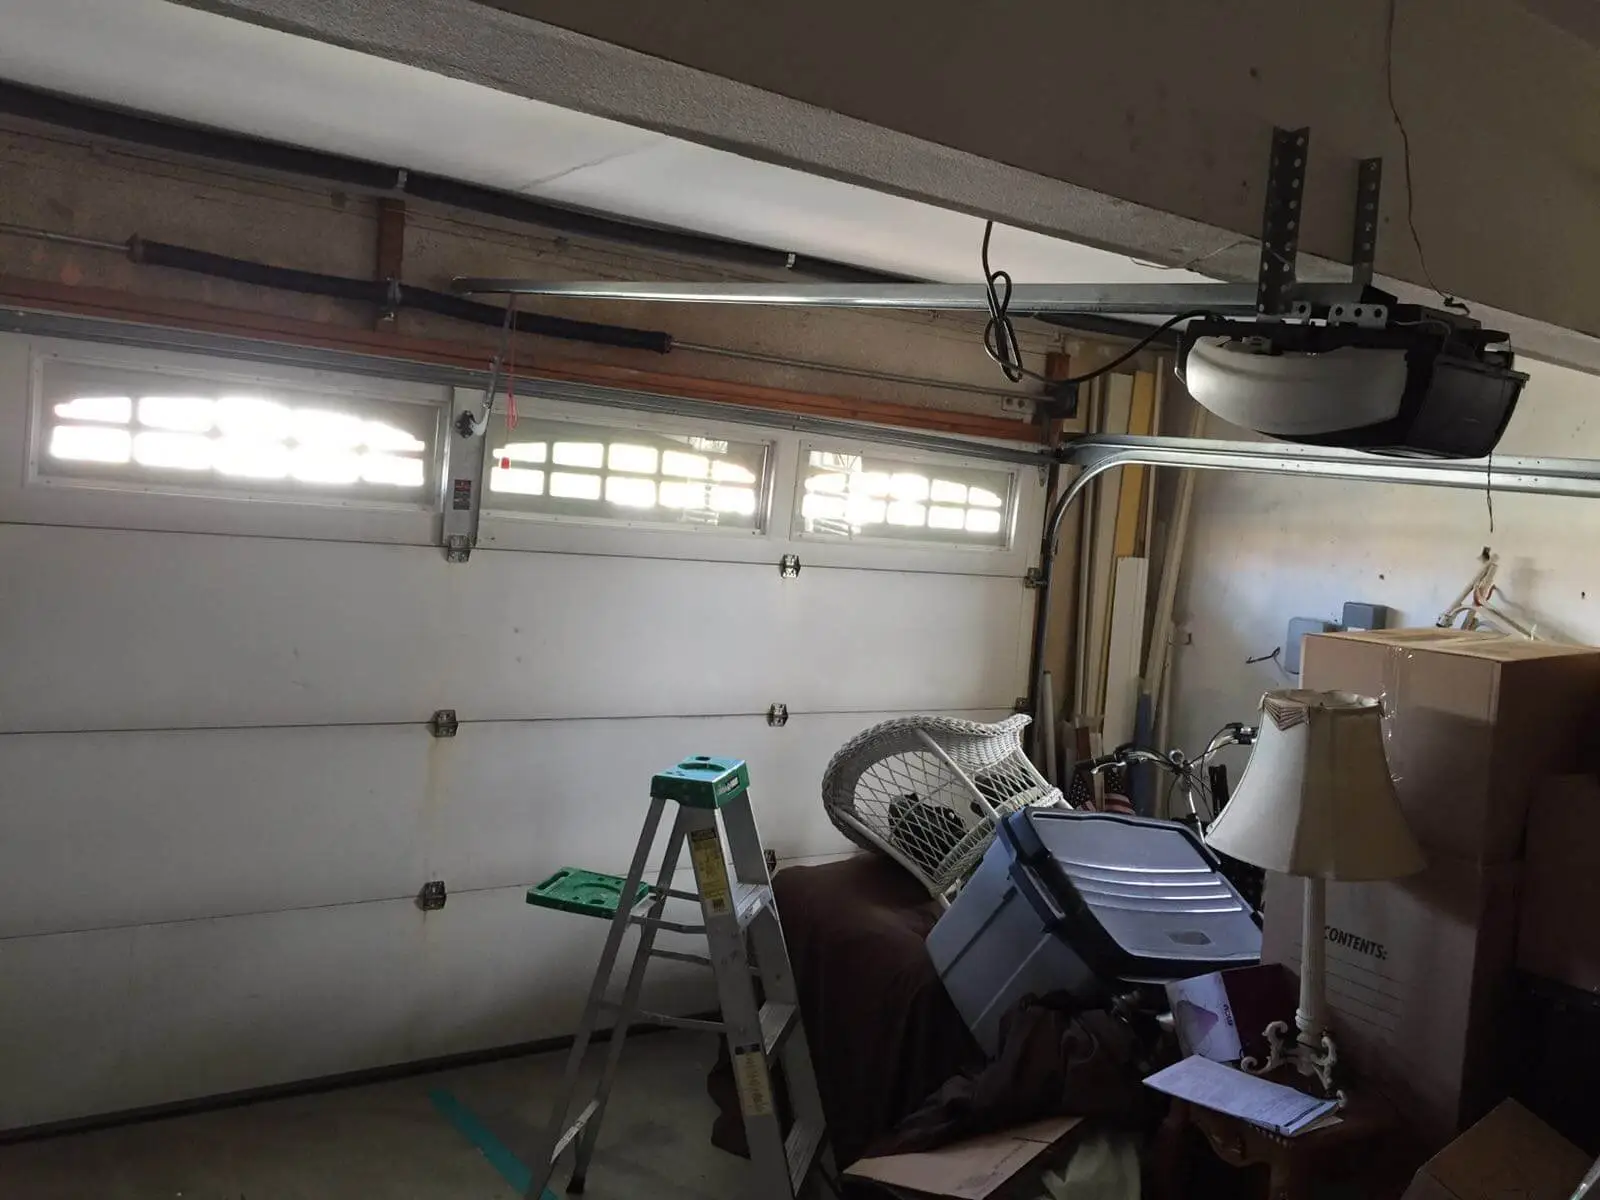
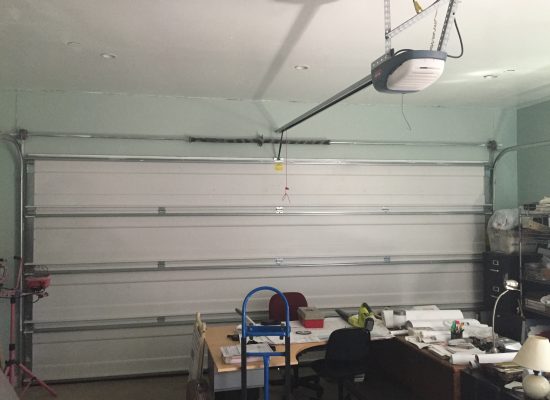
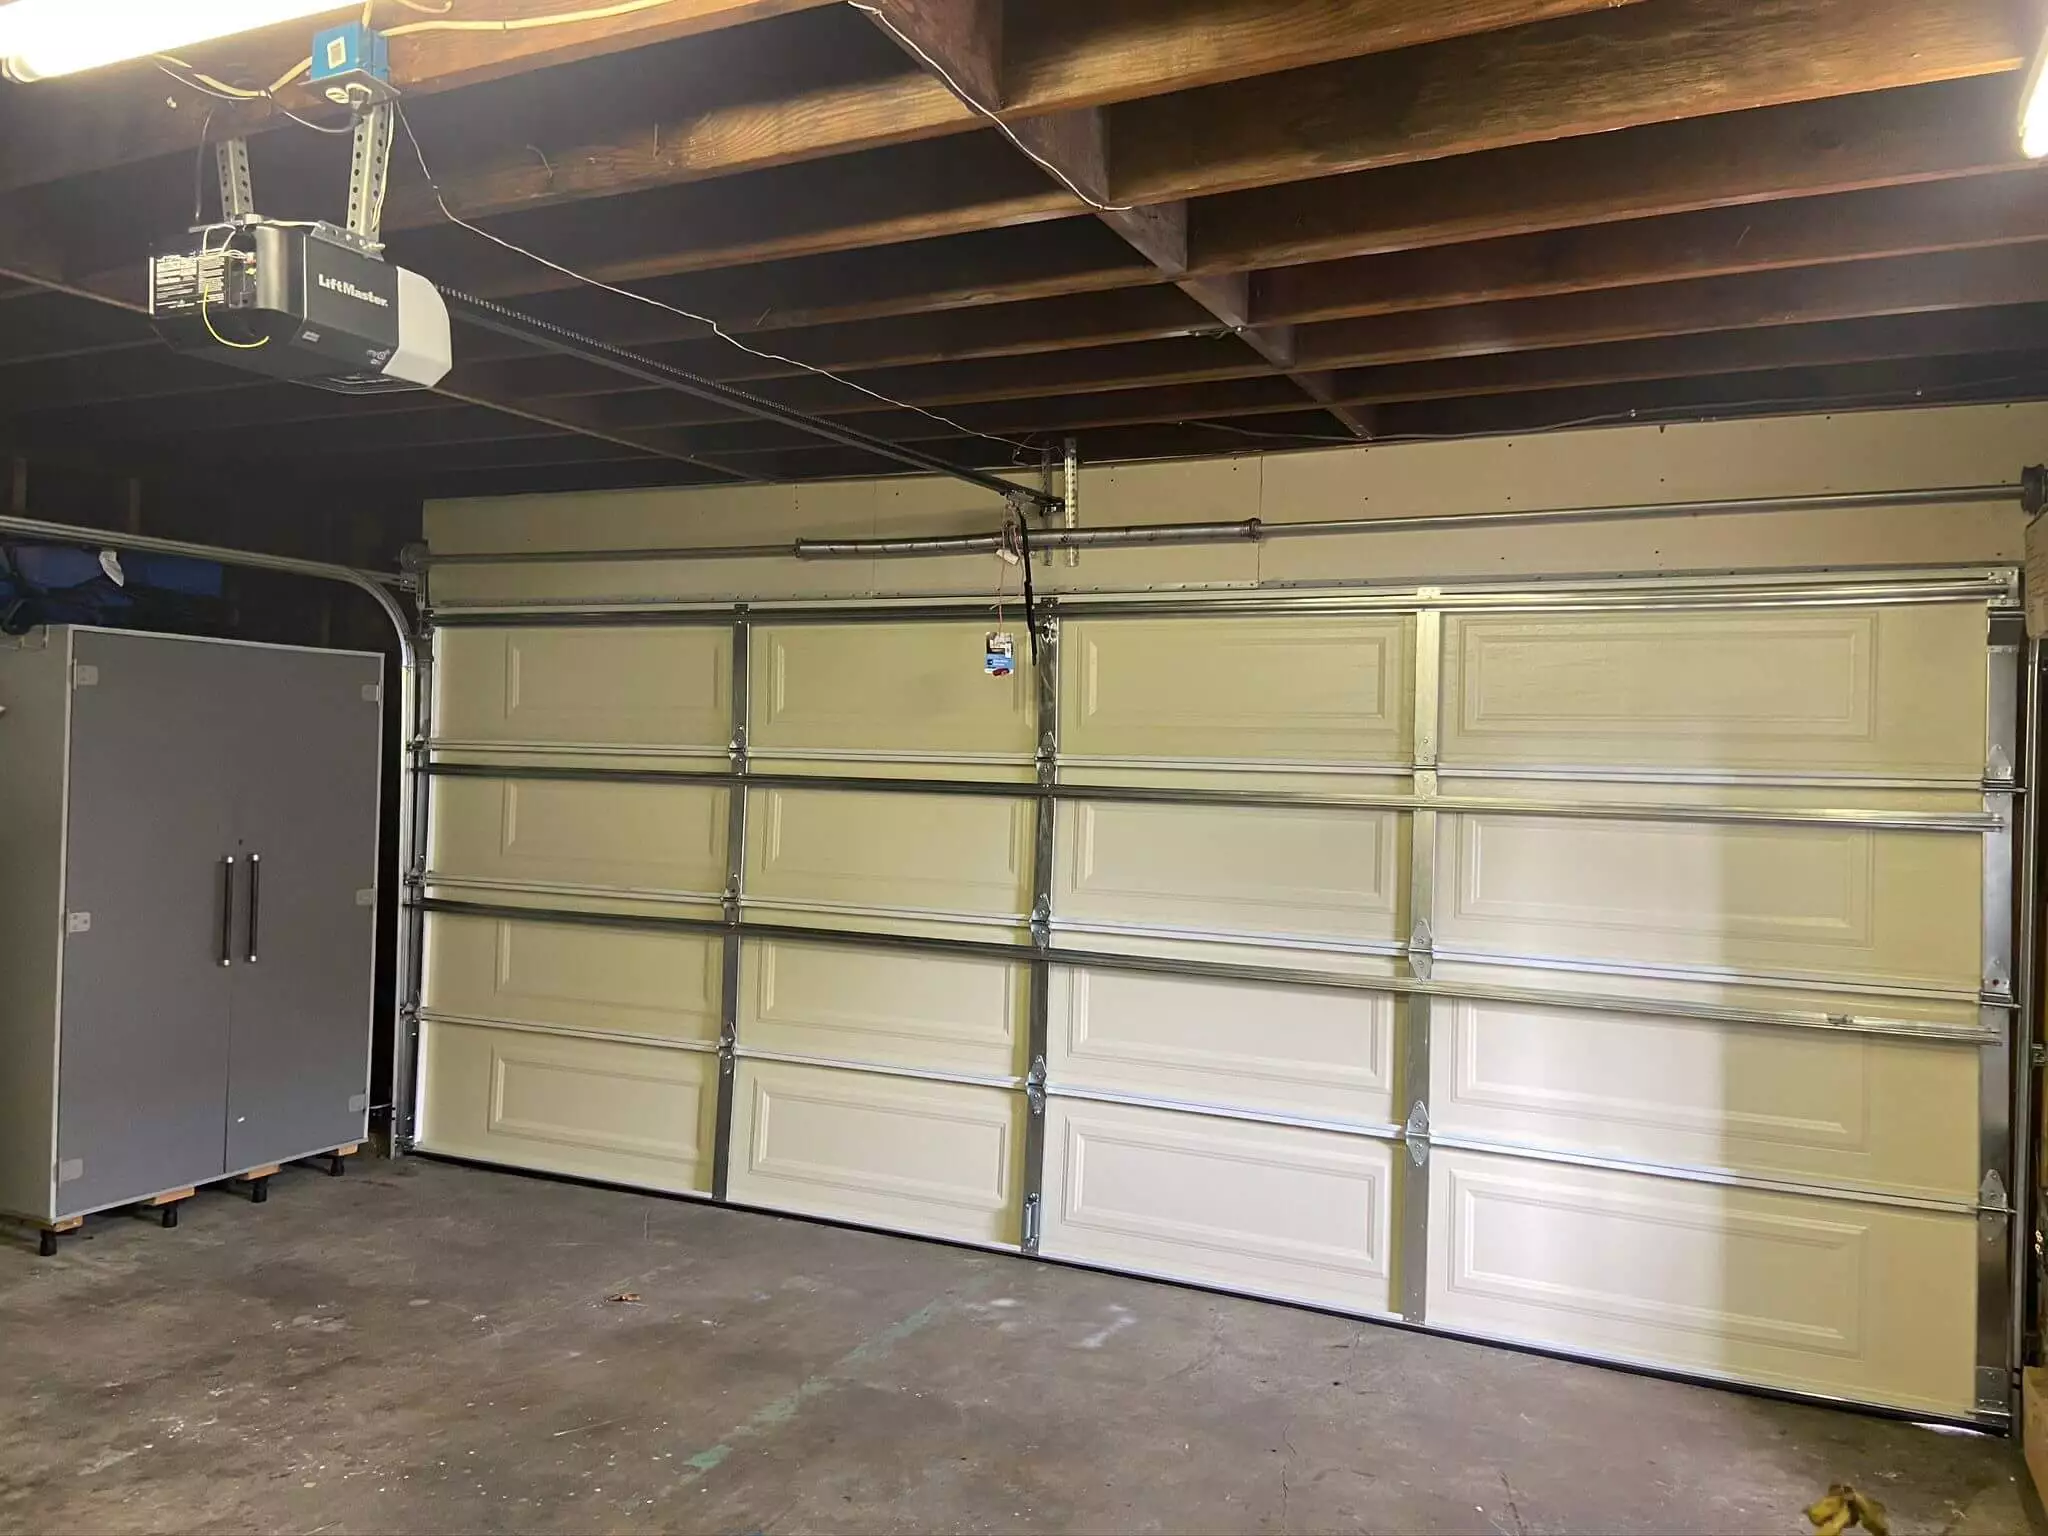
A typical garage opener is a motor with a reversible gear that drives a carriage on a rail. The carriage has a drawbar that moves the door from its open to closed position. Travel-limiting devices are attached to the carriage to stop the movement of the door at the fully closed and fully opened positions. Relay or reversing switches reverse the direction of driving from opening to closure and back again. Modern garage door openers in Franklin have a radio receiver which allows you to send a signal via an electronic module from your car.
Content
How to Install an Automatic Garage Door Opener?
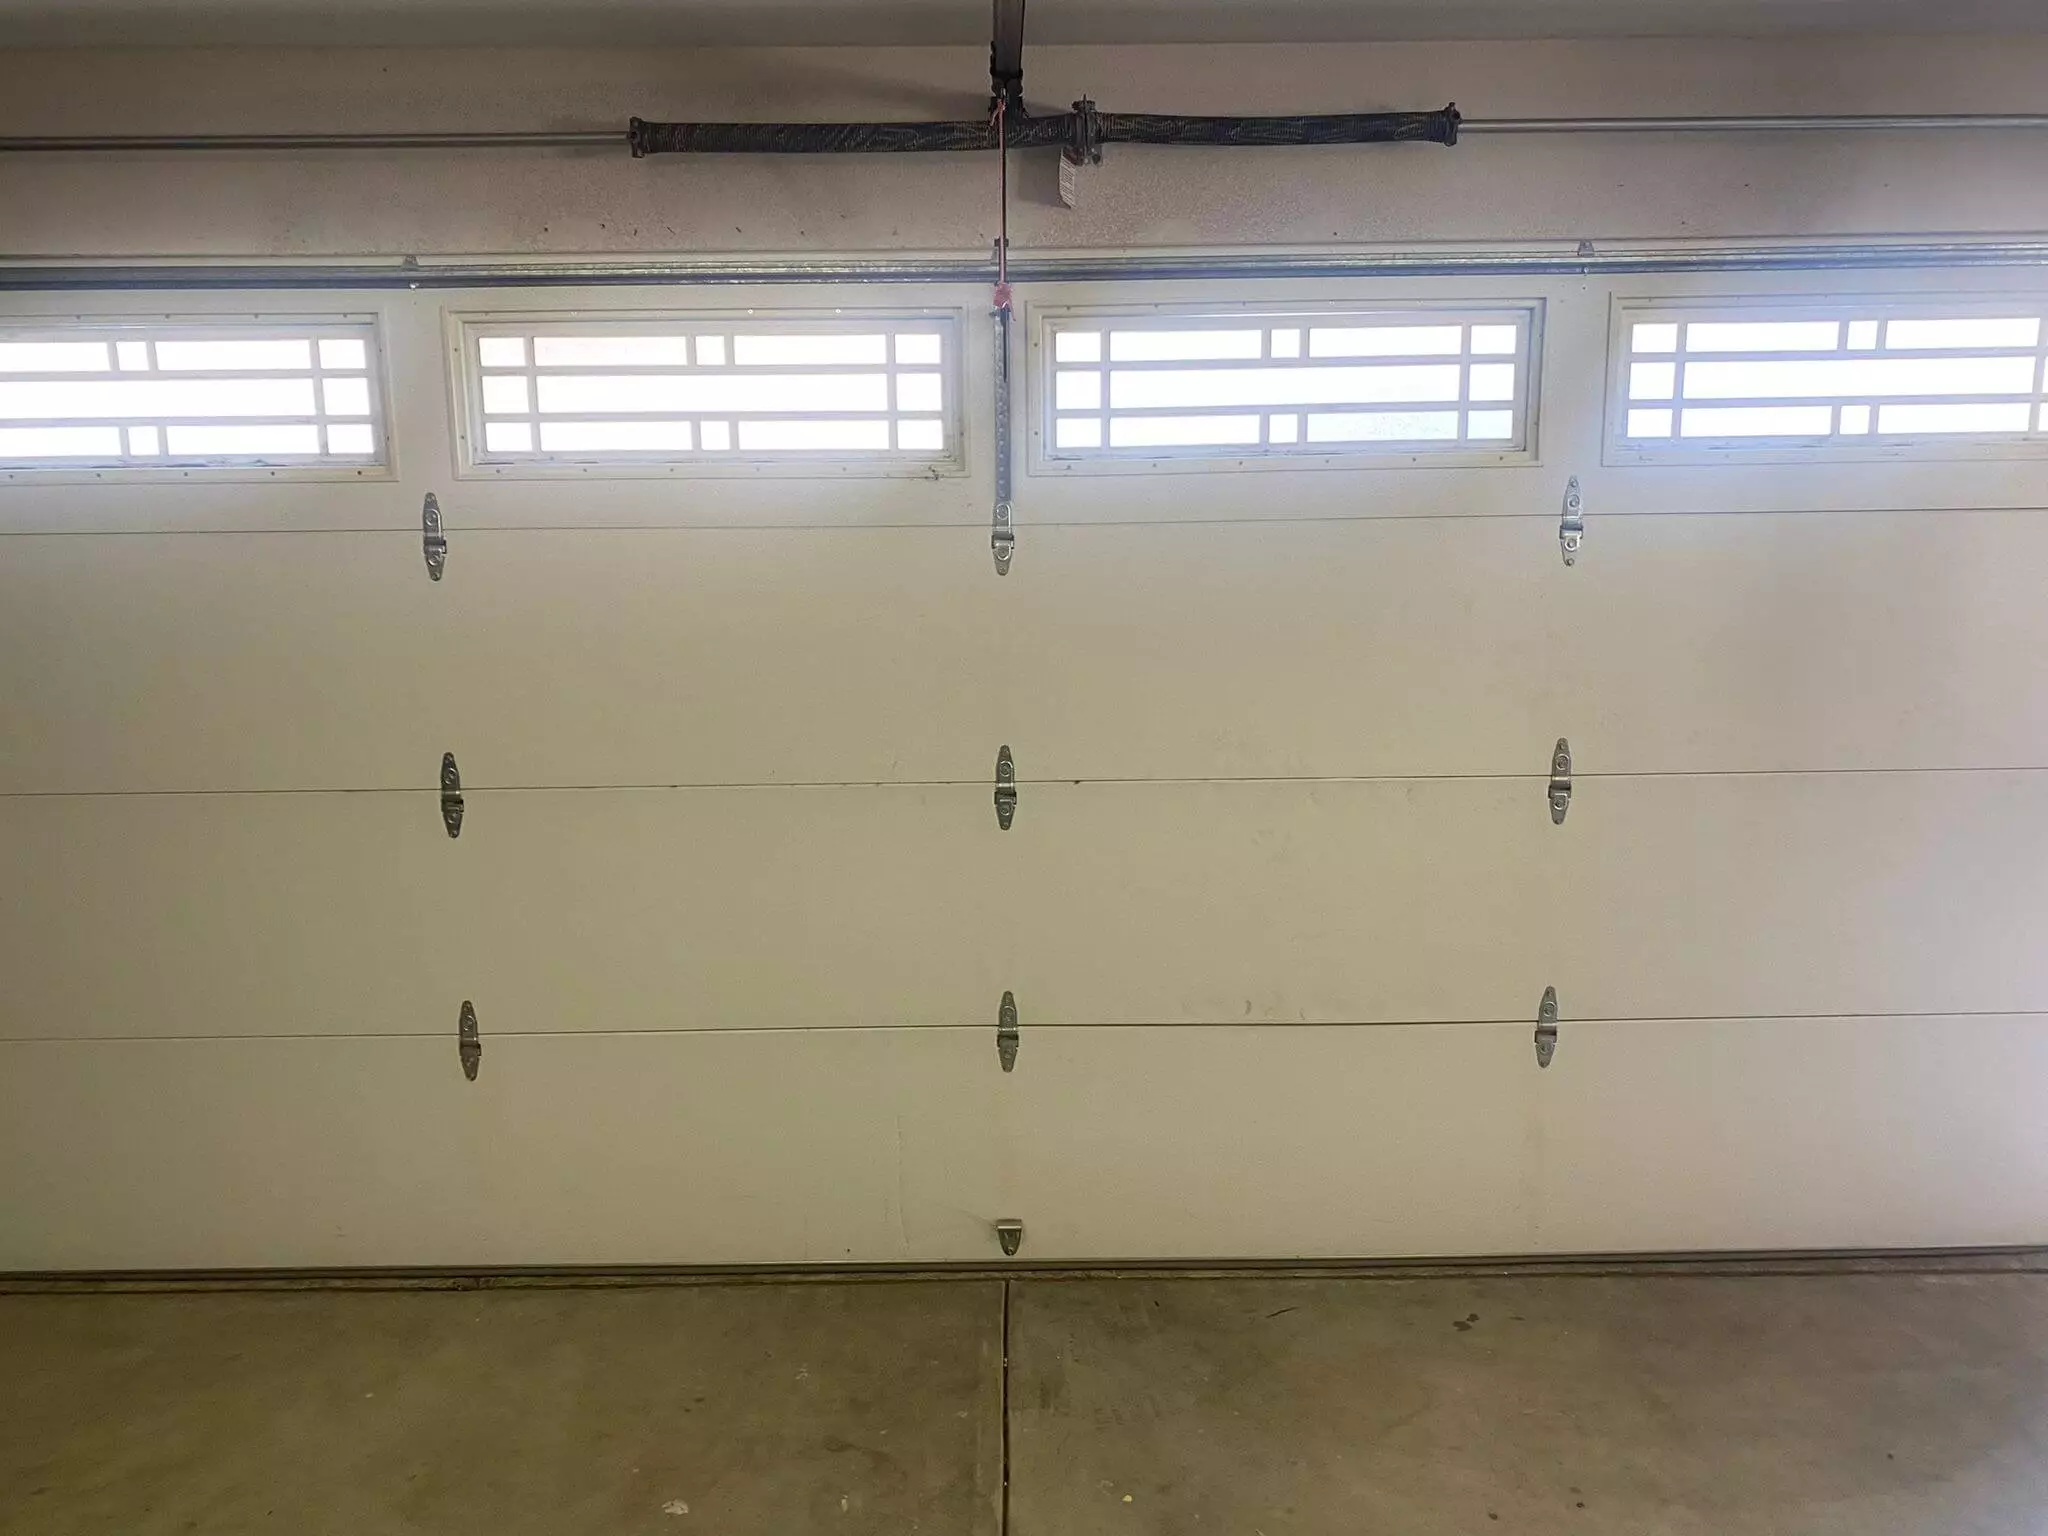
Step 1: Install the mechanism in the middle of the garage door. Use a tape to measure the width of your garage door. The center is half of this distance. Draw a vertical line on the inside of the front door. The door will be balanced evenly at the lifting point when you attach the drawbar, which is the mechanism that raises and lowers the door.
Step 2: Raise the door and lower it, paying attention to the point at which the door reaches its highest position. Mark the location because the opener must be mounted so that it is higher than the top of the door travel. If you don’t, the door could hit the rail as it opens.
Step 3: Check the area directly above the garage at the vertical dividing line. There must be a support suitable for attaching to the front of the rail. Install a front mounting plate if there is no structural member at that point in your garage. Over your mark for the highest travel of the door, center and secure a 2 X 6 inch plank with lag screws. This plank will be the high-point of your door travel. Also, extend the vertical center line on the plank.
Step 4: Attach rail to motor unit in garage, according to instructions. Lift the garage door and attach the outermost end to the front mounting board at a distance of about 2 inches above the intersection marks that you have made for the high point and the center line. Rail brackets are usually attached to the front mounting board with lag screw. However, if bolts and nuts have been provided, you will need to drill holes in the front mounting planek. Use washers underneath the bolt heads to prevent them from pressing the wood.
Step 5: Raise motor assembly until rail is horizontal or parallel to door track. While holding or supporting the motor assembly in this position, lift and lower the garage by hand. This will ensure that the rail’s location doesn’t interfere with the movement of the door.
The metal brackets included in the kit will help you secure the motor assembly to the garage joists once you have determined the right height and position. The motor assembly may be between two garage joists or the garage joists will run in the same direction as rail.
In this case, you must fasten the 2 X 4 to the joists and then attach the brackets. You can install a 3/4″ plywood panel above your garage ceiling, and fasten it to the joists using lag screws. Attach mounting hardware with toggle bolts to the plywood panel.
Step 6: Attach a drawbar to the rail carriage and move it to its closed door position. Mark and drill the mounting screw holes for the drawbar on the garage door. After the drawbar is mounted and the mounting holes are drilled, install and tighten the hardware that attaches the drawbar the garage door.
Step 7: Adjust the chain as necessary, paying particular attention to the location of bolts which limit the chain travel.
Step 8: Install radio receiver and manual button. The push button can be made from a regular bell wire, but it must be placed so that you can see your garage door opener working when you press the button. Installing an optional key switch is also possible.
Step 9: Connect the drive assembly cable to an extension cord and plug in the extension cord to a convenient outlet. The manual push button is used to start the garage door. Pull the extension cord plug several times during the first test rise of the garage door to ensure that it is not binding and the lifting is satisfactory. Use the adjustments built into the garage opener system to make any necessary corrections. Also, verify that the radio remote is working.
Step 10: Unplug the extension cord and plug in the drive assembly cord to its permanent outlet. If possible, plug the cord into the overhead garage light socket.
You’ll now be able make basic garage-door repair, whether you’re working on the door or the opener.
Social Links: Oneplus, C.Realme, Tp-Link, Dzone, Support.Google, Medium, Nairaland, Wattpad, Asrock, Finance.Yahoo, Answers.Launchpad, Imgur, Dl.Acm, Camaguey, Community.Htc, Trac.Edgewall, Bigcommerce-Onesaas.Zendesk, Goodreads

I am Javier and my love is writing about home improvement. I write mostly about home ideas, but also share some tips and tricks that can make your life easier when it comes to getting things done in the house.

