Content
Transform Your Yard into a Colorful Oasis with These Proven Tips
Planting flowers in your yard is more than just a gardening chore; it’s a creative endeavor that can bring beauty and joy to your outdoor space. Whether you’re a seasoned gardener or a novice with a green thumb, these essential tips will help you kickstart your floral journey and create a vibrant garden that will be the envy of your neighborhood.
1. Select the Perfect Spot
The first step in planting flowers is choosing the right location. Different flowers have varying sunlight requirements. Read the plant tag or description to determine whether your chosen spot receives the right amount of sunlight. Some flowers thrive in full sun, while others prefer partial shade. Understanding your garden’s sunlight patterns is crucial for your flowers’ success.
You may also like this: Unwanted Guests: How to Get Rid of Mice in Your Home
2. Prepare the Soil with Care
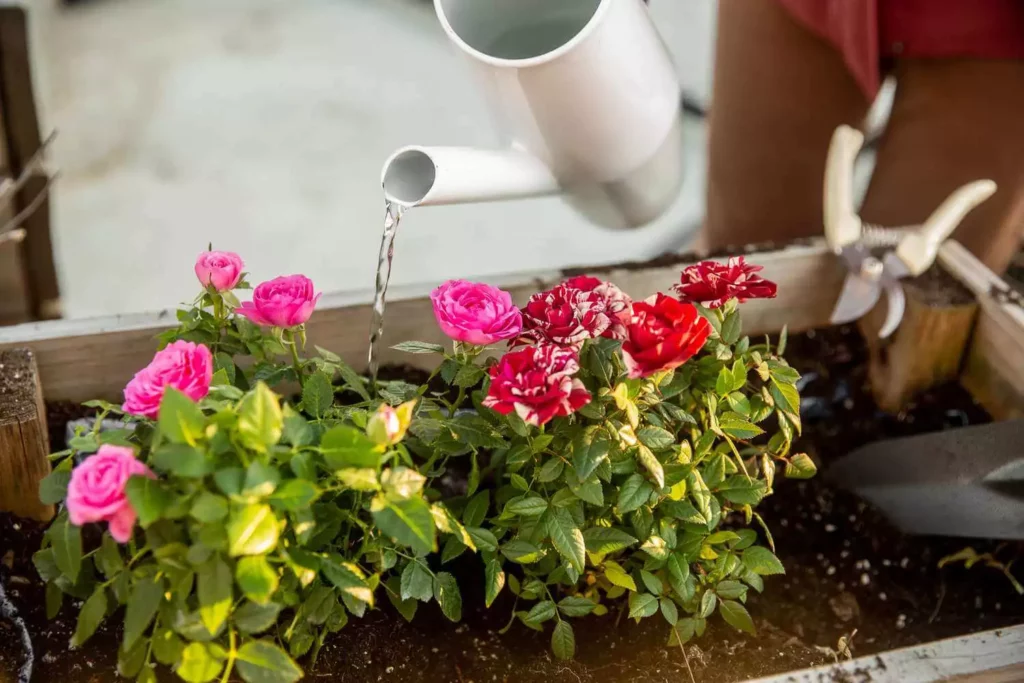
Healthy soil is the foundation of a thriving garden. Before you start planting, prepare the garden bed. Use a spade to work in at least one inch of organic matter into the soil. Loosen the soil to a depth of at least six inches to allow for proper root growth. If you’re adding flowers to an existing garden bed, dig out the area in advance and mix in compost to improve soil structure. Well-prepared soil sets the stage for strong and resilient plants.
3. Choose Flowers Wisely
Not all flowers are created equal, and selecting the right ones for your region and climate is essential. For optimal results, plant your flowers after the last frost date in your area. Again, consult the plant tag or description to identify the specific needs of your chosen flowers, including sunlight requirements. This step ensures that your flowers have the best chance to thrive.
4. Plant with Precision
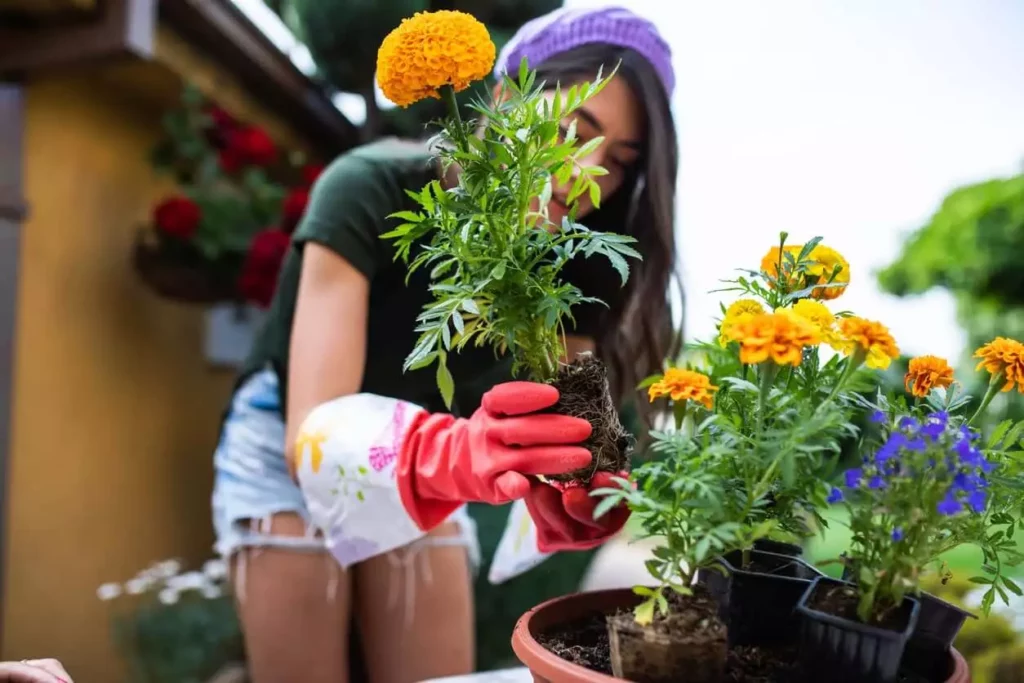
When it’s time to plant, dig a hole approximately twice the size of the root ball of your flower. Carefully remove the plant from its container, taking care not to damage the roots. Gently place the plant in the hole and backfill it with soil. Firmly tamp down the soil around the plant, ensuring there are no air pockets. Water the newly planted flower deeply to help it settle into its new home.
5. Mulch for Moisture and Weed Control
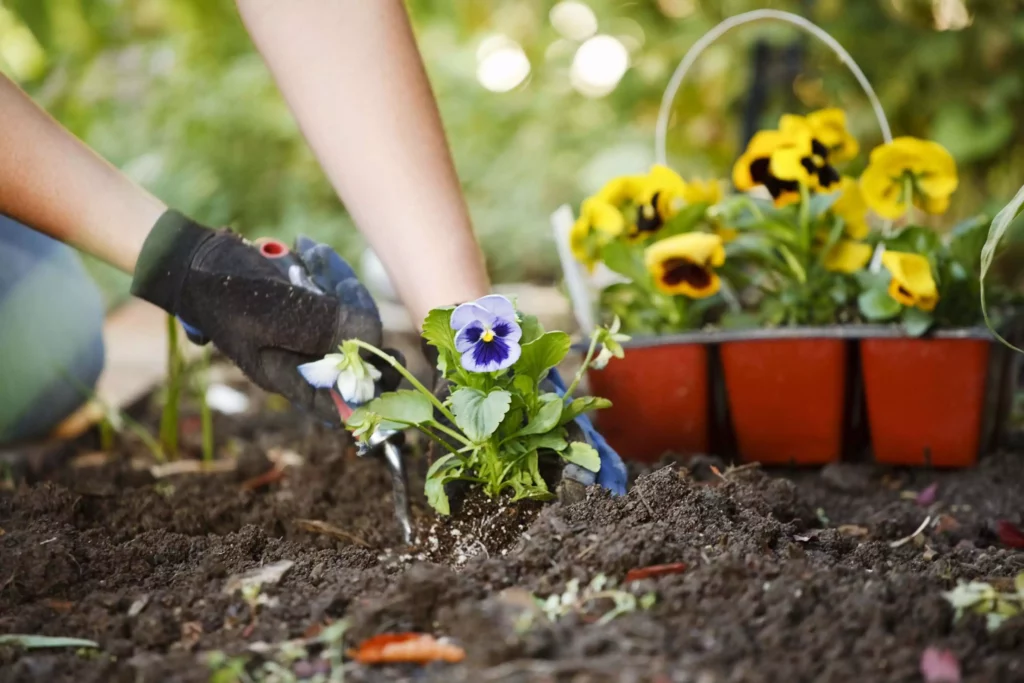
Adding a layer of mulch around the base of your plants is a smart move. Mulch helps retain moisture in the soil, preventing it from drying out too quickly. Additionally, it acts as a barrier against weeds, reducing the competition for nutrients and sunlight. Apply a two to three-inch layer of mulch, making sure to keep it a few inches away from the plant stems to prevent rot.
6. Tender Loving Care
To keep your flowers thriving, remember to care for them consistently. Water your flowers regularly, especially during dry spells. Monitor the soil moisture and adjust your watering schedule accordingly. Deadhead spent blooms by gently removing them; this encourages the plant to produce more flowers. Fertilize your flowers as needed, following the instructions on the package for the specific type of fertilizer you’re using.
Further reading suggestion: Creating a Wonderland: A Guide to Decorating Your Child’s Playroom
Embrace the Journey
Lastly, don’t forget to enjoy the process of planting flowers. Gardening is a rewarding hobby that offers relaxation, satisfaction, and the opportunity to connect with nature. Share the joy with your family, and watch as your yard transforms into a vibrant and colorful oasis.
FAQs
Can I plant flowers at any time of the year?
While you can plant flowers in various seasons, it’s generally recommended to plant after the last frost in your area for the best results. This varies by region, so check your local climate guidelines.
What is the purpose of deadheading flowers, and how often should I do it?
Deadheading involves removing spent blooms from your flowers. It encourages the plant to produce more flowers, extending the blooming season. How often you do it depends on the type of flower; some may need it weekly, while others can go longer between deadheading sessions.

I am Javier and my love is writing about home improvement. I write mostly about home ideas, but also share some tips and tricks that can make your life easier when it comes to getting things done in the house.
